I admit that previously i'm not a fan of HDR even though i love to see hdr picture from my fella fren.. Some photog ruined their otherwise excellent photo with extreme hdr effect... people face for example is best to be left natural.
One of the main reason i rarely toy with HDR is that i'm not able to produce an HDR image to my liking. For me it is has been very difficult to reproduce what our eye actually see at any landscape with high dynamic range such as sunset/sunrise. Other people might able to produce the image that they want but i failed here... therefore whenever such scenerio present (high dynamic range scenery).. i would prefer to do manual exposure blending (kinda similar to DRI) to reproduce the nearest duplicate of natural scenery image that our eye experienced.
However recently i re'explore' photomatix and i found that one of the plugin able to produce natural looking photo which is very similar to DRI editing output. The plugin is Tone Compressor. The best thing is photomatix trial version didnt put any watermark for picture produce by using this Tone Compressor plugin.
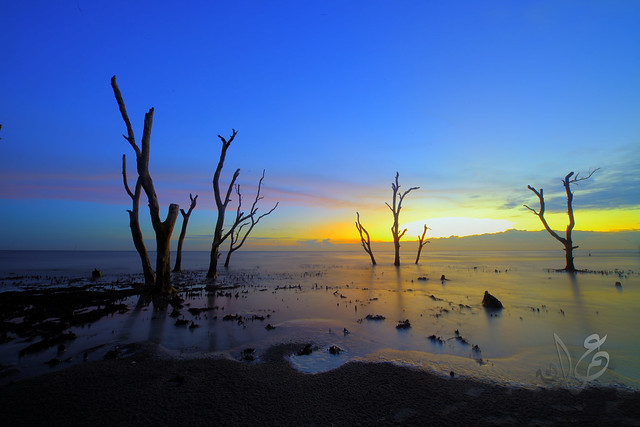
So by using this plugin i manage to immediately produce the following picture
[Brightness: -3.0 Compression: 6.0 Contrast:10.0 WhiteClip: 3.300000 BlackClip:0.000000
ColorTemperature:5.0 Saturation:0.0 ]
This picture is an HDR picture processed from 3 picture ( EV -2, 0, +2)
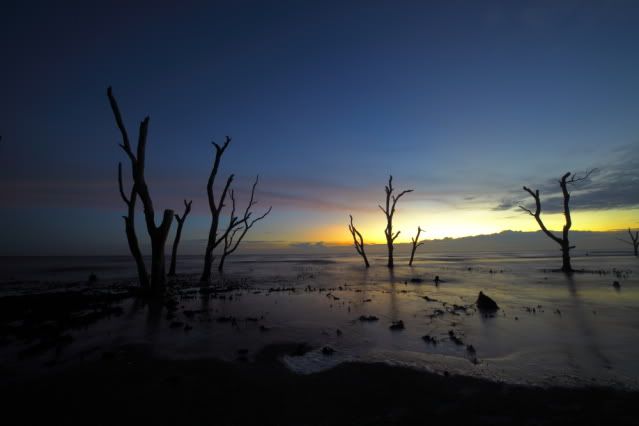
The under(-2)
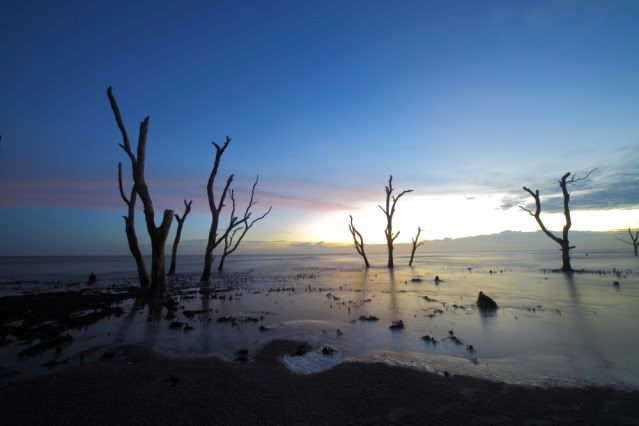
The neutral
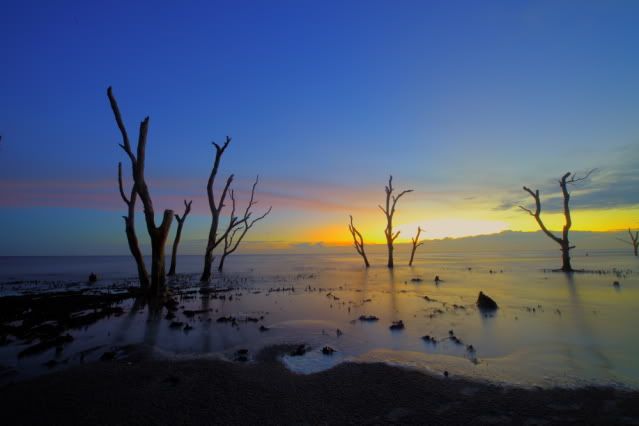
The over (+2)

and with few simple editing in photoshop (clone dust.. crop.. horizon correction... autotone.. autocolor) the final is as the one shown below :D
Some weakness of this plugin that i notice
#if your input sample is not good (eg the under is too dark) it will not produce a good image.. in my experience -2, 0 +2 is just nice..
#issues with highlight (this is also connected to the quality of the input picture that you provide)
#saturation.. the plugin saturate the output even though your saturation setting is 0 .. you cant desaturate within photomatix as the effect is worse... the best is your input picture must not be too saturate
----------------------------------------------------------------------------------------
#some photog might have different idea/style eg they might wanna all detail from all the area within their picture .. some doesnt want something that is not logic/natural... some prefer single shot picture only... some despise editing... i prefer to be in the middle.. :) .. so this might suite you .. might not.. :) .. no one force you to follow anyone.. photography is not a religion.. and you should never 'force' your view to others..
----------------------------------------------------------------------------------------
#these tutorial picture (except the final picture) is uploaded to my photobucket account.. somehow they screwed the quality! no wonder they not able to compete in the photo sharing market
----------------------------------------------------------------------------------------
Posted the link to this tutorial and within minutes i get a good feedback from fren, Vedd who is an expert in HDR, DRI which contain valuable lesson for me to learn & improve further..
"if you're not facing the sun, 3 exposures might pull it off, but in the example photo that you've given, you're facing an extreme contrast of light and shadow. 3 exposures couldn't pull it off and you're fa...ced with highlight clippings in your photos. (the area where the sun was)"
The FB comment attract good discussion between him & liew (my sifu lah.. always scold me.. hahahaha).. here some excerpt of it..


which reinforce my belief.. to learn more you must teach more... ta'lim wa ta'lum .. thanks fren..


Can you share the key steps for HDR processing in a natural way? greeting Telkom University
ReplyDelete